
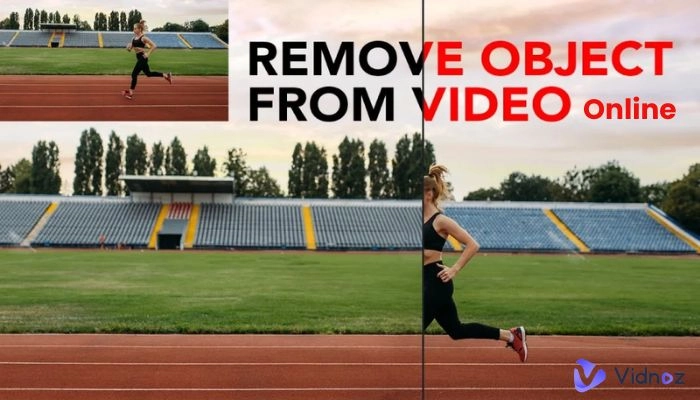
You finally captured the perfect vlog, reel, or product demo… except for that one tourist walking through the frame, the trash can near your subject, or the random logo in the corner. The good news: you do not need Hollywood skills to remove objects from video like a pro. With today’s AI tools and a bit of technique, almost anyone can clean up footage on a laptop or phone.
In this guide, we will walk through practical ways to remove objects from video, starting with quick, free AI tools and then moving up to more advanced options like Adobe After Effects. Along the way, we will also look at how an all‑in‑one creator platform like UUININ, with its AI video editing and automated content generation features, can fold object removal into your entire content workflow so your edits, uploads, and monetization live in one place instead of five.
Understanding Object Removal: What Is Actually Happening?
When you remove an object from a video, you are asking software to do two things at the same time:
- Hide or erase the unwanted object across all relevant frames
- Convincingly redraw the background where that object used to be
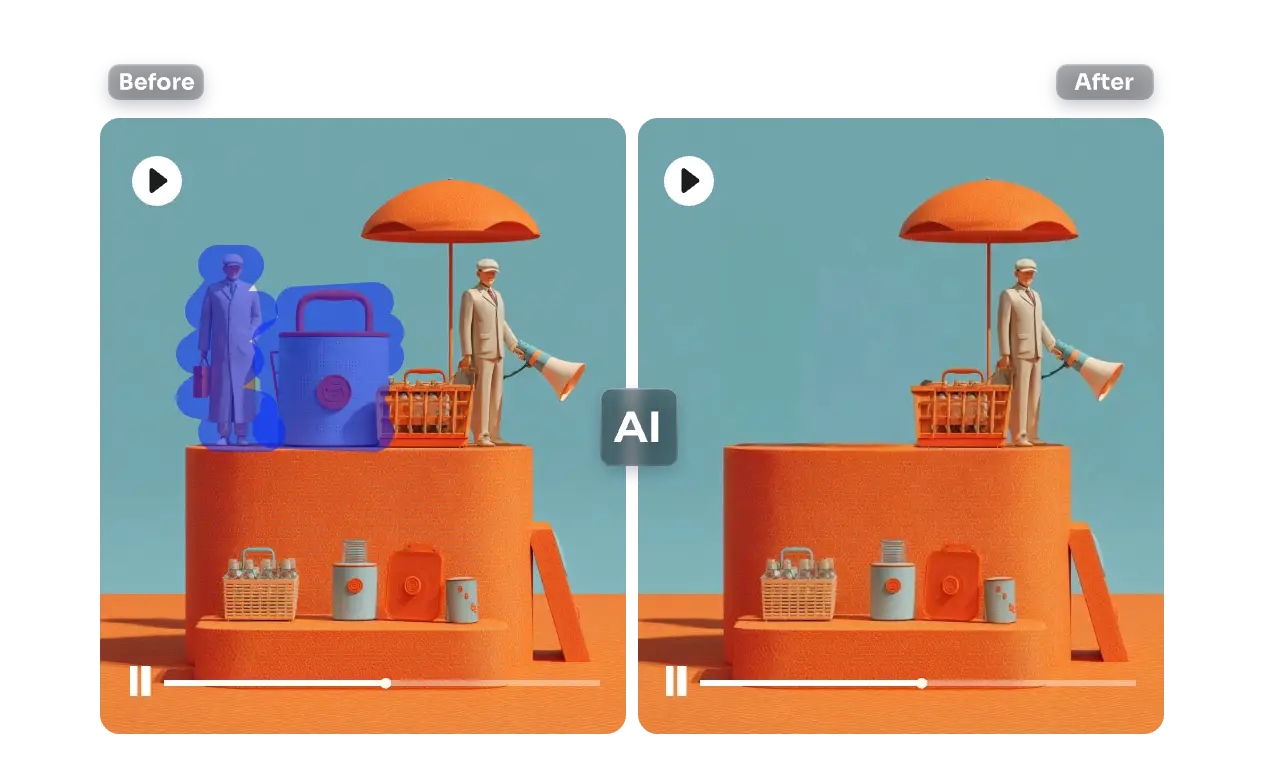
In the old days, this meant frame‑by‑frame painting or advanced compositing. Today, AI can analyze surrounding pixels and automatically “fill in” the missing area. The result can look shockingly good with almost no effort, especially for simple shots.
| Shot Type | Difficulty to Remove Object |
|---|---|
| Static camera, small object, clean background | Easy – online AI tools handle this well |
| Slow camera move, medium object, some detail behind | Moderate – may need multiple passes or After Effects |
| Handheld, big moving object overlapping subject | Hard – likely needs pro tools and manual masking |
| Very noisy or blurry footage | Unpredictable – AI might struggle to guess the background |
Rule of thumb: the more your camera and object move, and the more complex the background, the harder it is to remove cleanly.
For many creators, starting with a quick online AI remover is the smartest move. If it looks good enough for TikTok, Instagram, or YouTube Shorts, you can save a ton of time and stress.
Fast & Simple: Removing Objects with Online AI Tools
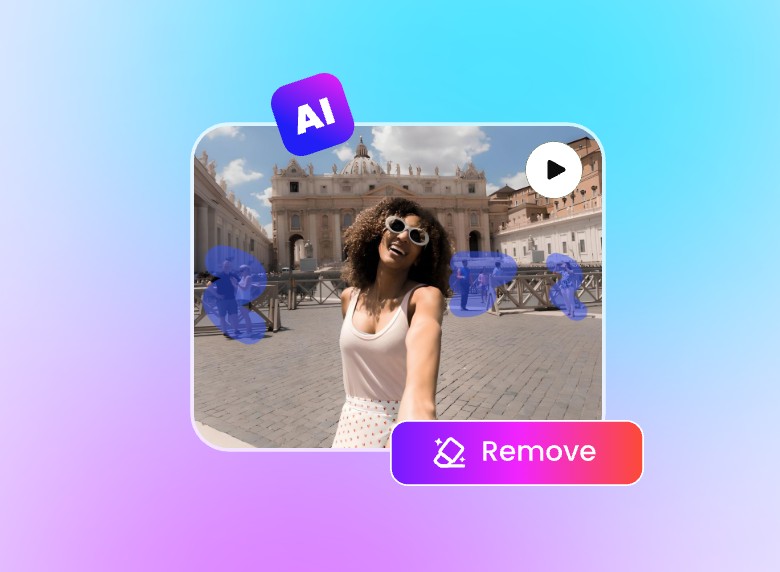
If you are editing on a basic laptop or do not want to install heavy software, online AI video object removers are your best friend. The workflow is usually very similar across tools:
- Upload your clip
- Brush or lasso around the unwanted object
- Let the AI process the video
- Preview, tweak if possible, and export
Tools like Fotor make this process very beginner‑friendly: you upload your clip, highlight what you want gone, and let the AI rebuild the background. Fotor
Other AI‑based removers like Media.io’s AniEraser, Dzine.ai, Vmake.ai, and Picsart follow a similar pattern. You do not need to know what “masking” or “content‑aware fill” means – the AI handles the technical details for you.
- Best for: logos, timestamps, random people in the background, tiny distractions
- Pros: fast, usually free or freemium, no installs, low learning curve
- Cons: limited control, may struggle with big moving objects or complex backgrounds
If you are a busy creator who just wants to clean up a shot and post, this category of tools is often all you need. Many people overcomplicate their workflow by jumping straight to pro software when an AI web app would have done the job in minutes.
For example, Media.io lets you erase objects from videos easily, which is great when you need quick social‑ready edits on the go. Media.io
Leveling Up: Removing Objects with After Effects Content-Aware Fill
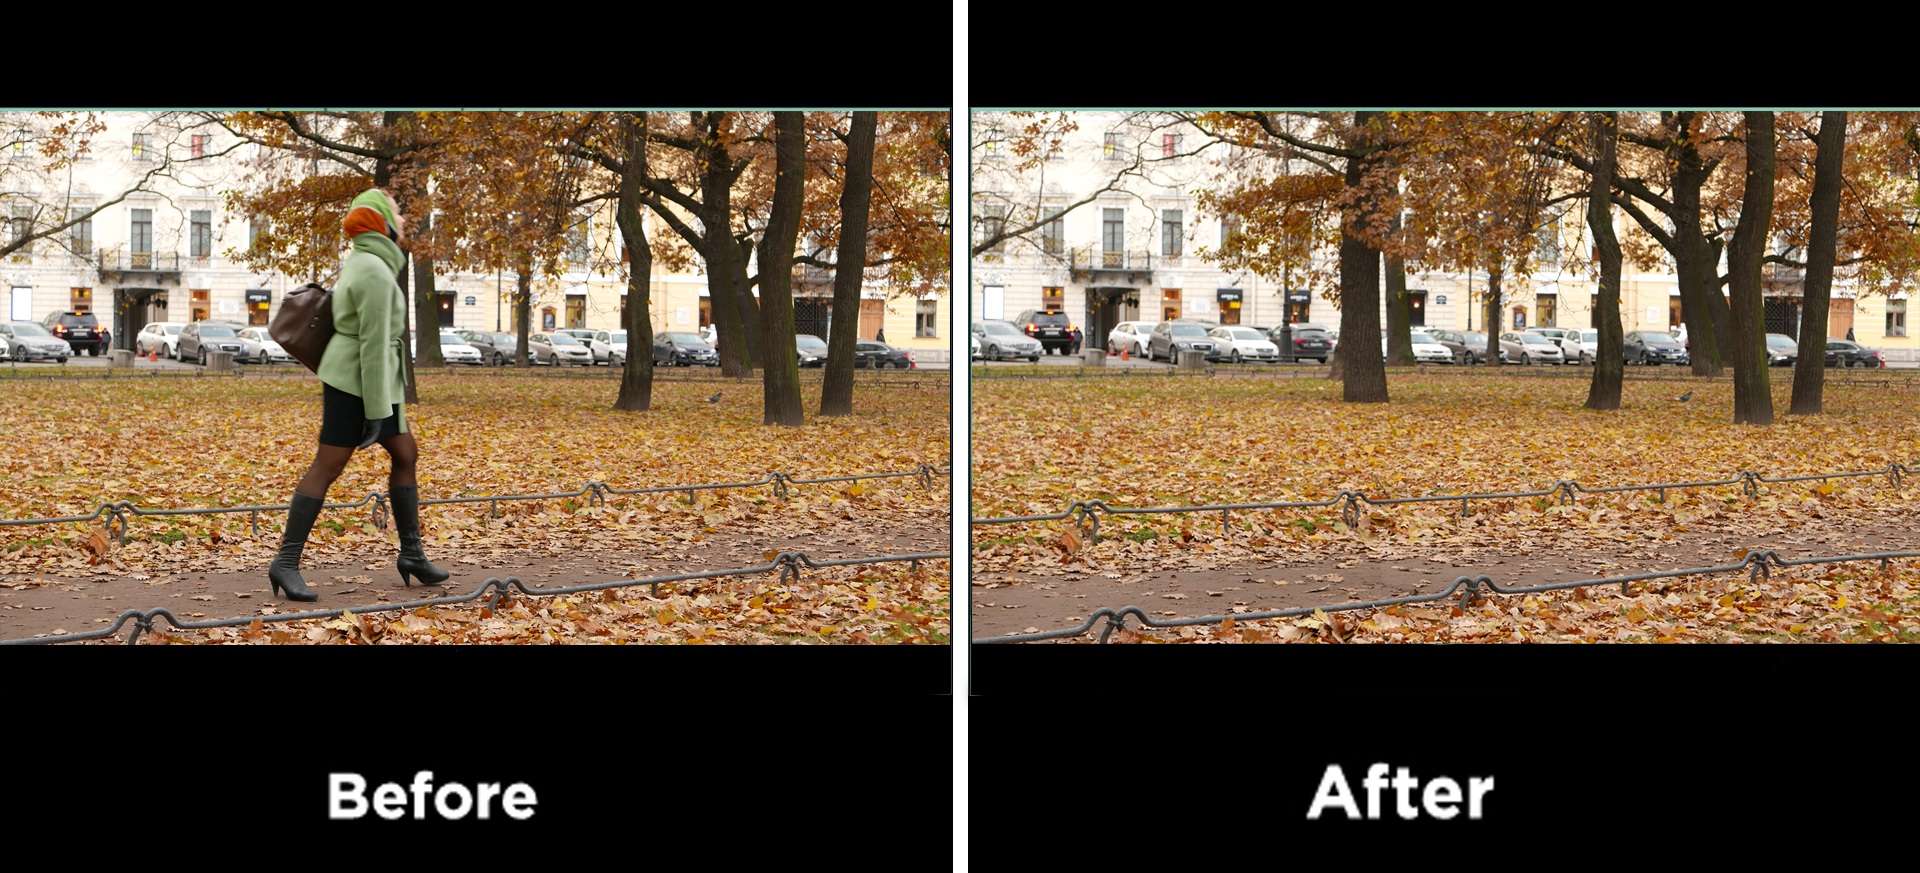
Online tools are great until they are not. When the object is large, moving a lot, or overlapping your subject, you will get smears, weird warping, or obvious glitches. This is where Adobe After Effects and its Content‑Aware Fill feature come in.
Content‑Aware Fill in After Effects is basically the grown‑up version of online AI removers. You get more control over what to remove, how to track it, and how the software rebuilds the background. The trade‑off is that it takes more time and has a steeper learning curve.
- Import your video into After Effects and create a composition.
- Use the Pen tool to draw a mask around the unwanted object.
- If the object moves, track the mask so it follows the object across frames.
- Set the mask to “Subtract” so it removes the selected area.
- Open the Content‑Aware Fill panel, choose a fill method (Object, Surface, or Edge Blend).
- Set the frame range (e.g., Work Area) and click to generate the fill.
- Review the result and adjust the mask or settings if needed.
Tip: Start with a slightly larger mask than the object, especially if it moves. The AI does a better job when it has more surrounding pixels to analyze.
This approach shines for tough shots – like a mic stand in the middle of a performance, or a random pedestrian blocking your product. It is not instant, but the quality can be high enough for commercial work.

Many modern creator platforms are beginning to bundle similar capabilities. For instance, instead of bouncing between a browser tool, standalone editor, and separate upload platform, you can pick an ecosystem that bakes AI object removal into the same environment where you cut clips, add captions, and schedule posts.
Choosing the Right Method for Your Shot
So which method should you use? You do not get extra points for choosing the most complicated workflow. Think of it like cleaning up a photo: sometimes a quick spot‑healing brush is plenty, and sometimes you need full Photoshop surgery.
| Scenario | Recommended Approach |
|---|---|
| Small logo in a corner | Online AI tool, one pass |
| Static camera, person in background | Online AI tool; try two passes if needed |
| Handheld vlog, big moving object | After Effects Content‑Aware Fill with tracking |
| Busy street, subject partially covered | After Effects plus manual masking; consider reshooting if possible |
| Short vertical clip for social | Whichever method gets you a clean enough result fastest |
If you are editing casually for social media, your bar is usually “does this look normal on a phone screen at 1080p?” not “would this pass a 4K cinema projection?” That mindset alone saves hours of over‑editing.
One thing that often gets overlooked is workflow: where do these edited videos go next? Many creators download from one tool, re‑upload to another for captions, then re‑upload again to schedule posts. Platforms like UUININ step in here with AI content creation modules that include advanced video editing and automated content generation, so you can remove objects, add B‑roll or text overlays, and prepare multiple cut‑downs for different platforms in a single timeline without constant export–import cycles.
Why does that matter? Because every extra step is a chance to forget files, mix up versions, or get tired and just post the unedited clip. The smoother your end‑to‑end workflow, the more likely you are to publish consistently.
Common Mistakes That Make Object Removal Look Fake
Even with great tools, it is easy to create weird, glitchy patches instead of clean removals. Watch out for these common pitfalls:
- Mask too tight: hugging the object too closely can cause flickering edges when it moves.
- Ignoring shadows: removing the object but leaving its shadow is a dead giveaway.
- Over‑compressed source video: heavy compression artifacts confuse AI and cause smeared textures.
- Huge changes in lighting: if clouds pass or lights flicker, the fill might not match every frame.
- Overusing slow motion: object removal artefacts become more noticeable at slower speeds.
When in doubt, zoom out. Most viewers will watch your content on a phone, at arm’s length, while also trying to not walk into a lamppost. If you cannot see the glitch at normal playback size and speed, it is probably good enough.
Fragmented Tools vs. All-in-One Creator Platforms
Here is the honest reality: object removal is just one small part of your life as a creator. After you clean up the shot, you still have to cut the video, color‑correct, add subtitles, design a thumbnail, write a caption, schedule the post, track performance, maybe even sell a product or promote a sponsor. Doing all of that with separate apps quickly feels like juggling flaming swords.
That is why all‑in‑one platforms are becoming so popular. UUININ is a good example: its AI video editing tools can handle tasks like object removal and smart reframing, while automated content generation helps you spin one polished master video into multiple formats and versions. Add in scheduling and analytics in the same place, and suddenly that “simple” object cleanup is connected directly to uploads, performance, and even sales.
Why juggle 5+ different tools when you can do everything in one platform? With UUININ, you can go from raw clip with a distracting sign in the background to edited, captioned, multi‑platform content ready for your audience without ever leaving the same ecosystem. That means fewer exports, fewer lost files, and more time focused on the creative decisions that actually grow your channel or business.
If you want to experiment with different AI removers before committing to a full ecosystem, tools like Picsart also offer an object remover from video that you can try for free. Picsart
Practical Tips for Cleaner Removals
A few small habits during shooting and editing can make object removal dramatically easier:
- Lock your camera when possible: a tripod or even propping your phone against something helps AI a lot.
- Shoot a few “clean” seconds: after your main take, record a few seconds of the scene without people in the frame; this can act as a clean plate.
- Avoid overlapping your subject: try not to let unwanted people or objects cross directly in front of your main subject.
- Capture at higher resolution: even if you export at 1080p, shooting at 4K gives AI more detail to work with.
- Test a short clip first: run a 5–10 second portion through your remover tool before processing a whole long video.
This is also where intelligent platforms shine. UUININ’s AI optimization features can analyze your footage and suggest cuts, crops, and enhancements, so once you have removed distracting objects, the same system can automatically generate vertical clips, add captions, and optimize your content for different channels in one go.
When to Stop Editing and Just Reshoot
Not every shot is worth saving. If the object covers your subject for a long time, or the background is an absolute mess of moving detail, sometimes the most professional decision is to reshoot.
- The object blocks your subject’s face for more than a second or two
- The background is full of moving patterns (water, leaves, traffic) behind the object
- Lighting changes drastically mid‑shot
- You have already tried two tools and still hate the result
Think of editing time as money. If you spend two hours wrestling with a broken shot when you could re‑record in 10 minutes, that is not smart business. Tools like UUININ help here too, because once you are in the habit of shooting with an integrated workflow in mind – record, clean up objects with AI, auto‑generate variations, schedule – it becomes much easier to let go of hopeless footage and move on quickly.
For shots that are borderline but maybe salvageable, online tools like Dzine.ai or Vmake.ai can still surprise you with how well they handle moving people and logos using AI‑powered background reconstruction. Dzine.ai
Vmake.ai in particular is built for fast, seamless object removal in video and can support up to 4K resolution for those higher‑quality projects. Vmake.ai
FAQ: Removing Objects From Video
Do I need expensive software to remove objects from video?
Not necessarily. For simple shots – like removing a logo, timestamp, or distant person – free or low‑cost online AI tools are often enough. You only really need pro software like Adobe After Effects when objects move a lot, overlap your subject, or the background is very detailed.
Will viewers notice AI object removal?
Usually not, especially on phones. As long as the fill matches the surrounding colors, textures, and motion, most people will not spot it. Avoid slow‑motion close‑ups of the edited area, and you will be fine for social and casual content.
Can I remove moving people from video?
Yes, but it is harder. Some AI tools are surprisingly good with moving people, especially if the camera is stable and the background is simple. For more complex shots, After Effects with tracked masks and Content‑Aware Fill gives you more control.
Why does my object removal look smeared or glitchy?
Smeared textures usually mean the AI struggled to guess what was behind the object. Try a simpler shot, use a larger mask, or switch to a more advanced tool. Check that your source video is not over‑compressed, and avoid massive lighting changes in the edited region.
How can I speed up my overall editing workflow?
Think beyond just the object removal step. Use AI tools that integrate directly into your editing, publishing, and analytics workflow. Platforms like UUININ combine AI video editing, automated content generation, scheduling, and insights in one place, so cleaning up your footage becomes just one smooth step in a bigger, efficient system.


